Using Op Attachments
Attachments are files that can be created and read as a string in the Op they are attached to. They can contain any kind of data that your op might need for working. Attachments are a good way to separate data from your opcode, add WebWorkers or even work with WASM files.
Add Attachment
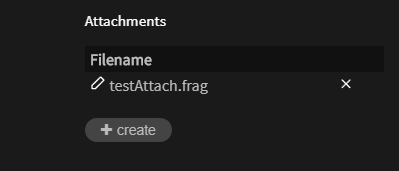
An attachment file can be created by clicking on an Op and then clicking the create button
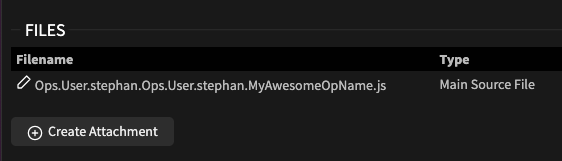
You then need to give your attachment a name that will later be used to access its content in your Op.
An attachment named my_attachment will be accessible in the Op via attachments["my_attachment"]
Hint: All dots (.) in the name entered will be converted to underscores (_), so myattachment.js will be attachments["myattachment_js"]!
Editing Attachment
After you created the attachment, the cables-editor will open and let you edit its content.
You can open the editor again later by clicking the edit button
Using attachments
The attachment can now be accessed inside of your op, select the op and press 'e' to enter edit mode.
This snippet will output the contents of your attachment (e.g. "hello attachment"):
console.log(attachments["my_attachment"]);
Using inc_ attachments
If the name of your attachment starts with inc_ the contents of the attachment will be included (and executed)
before your op code. This can be useful to stucture your code, branch things out into classes or just to have
less "boilerplate" code visible in the op editor.
Given an attachment named inc_context with the following code:
class MyOpContext {
    getRandomNumber() {
        return Math.random();
    }
}
And an op with the code:
const context = new MyOpContext();
console.log("this is in the op:", context.getRandomNumber());
Your console will output something like:
this is in the op: 0.5711111111111111
WebWorkers
WebWorkers usually reside in separate files from their main code to run in different threads. You can use attachments, create specially crafted urls from the content and load these workers to use in ops.
Check this example of a simple echo-service using WebWorkers:
Create an attachment named "worker", with this content:
onmessage = function (event) {
  console.log('Received message from main thread:', event.data);
  // Send the result back to the main thread
  postMessage(event.data);
};
Edit the Op code to call the worker:
// read the contents of the attachment into
const blob = new Blob([attachments["worker"]], {type: 'application/javascript'});
const workerUrl = URL.createObjectURL(blob)

// create worker using your code/url
var worker = new Worker(workerUrl);
worker.postMessage("ECHO");

worker.onmessage = function (event) {
  console.log('Received message from worker:', event.data);
};
Running this op (by saving the code), will print this in the dev-console, showing the working echo-service:
Received message from main thread: ECHO
Received message from worker: ECHO
WASM
You can use attachments to work with WebAssembly modules in your cables Ops.
We will create an op, following the example from MSDN
by encoding their simple.wasm file to Base64 and storing that into an attachment called "wasm":
AGFzbQEAAAABCAJgAX8AYAAAAh4BDG15X25hbWVzcGFjZQ1pbXBvcnRlZF9mdW5jAAADAgEBBxEBDWV4cG9ydGVkX2Z1bmMAAQoIAQYAQSoQAAs=
Now, in the Op code, add this:
// create data url from base64 wasm code
const simpleWasm = "data:application/wasm;base64," + attachments.wasm;

// define callable functions
const importObject = {
    "my_namespace": { "imported_func": (arg) => { return console.log(arg); } },
};

// fetch code from dataurl and instantiate wasm
fetch(simpleWasm).then((g) =>
{
    WebAssembly.instantiateStreaming(g, importObject).then(
        (obj) =>
        {
            // call wasm-function
            obj.instance.exports.exported_func();
        }
    );
});
As stated in the example:
"The net result of this is that we call our exported WebAssembly function exported_func, which in turn calls our imported JavaScript function imported_func, which logs the value provided inside the WebAssembly instance (42) to the console."
Found a problem? Edit this file on github and contribute to cables!